Ready for the Big Game III Apocalypse Battle

Tomorrow is the annual Big Game III Apocalypse day where huge games are scheduled around the world.   I am bringing 5800 points of painted Tau for the Forces of Disorder side.   I have played in a few Apocalypse games in 5th edition, this will be my first in 6th.   The goal is ambitious, to get through 4 turns with ~ 30000 points per side.   Of course, Apocalypse is really about getting all your stuff out on the table, there is really no serious strategy to consider.  I just hope everyone has fun and there are some memorable moments.

Here is my 5800 points Tau roster.   I am taking a bunch of war gear options and will probably forget to use them during the game.
Unlimited Pts – Tau Empire Roster

HQ: Commander Farsight (5#, 359 pts)
   1 Commander Farsight, 359 pts
      1 Crisis Bodyguard (Fusion Blaster; Hard-wired Multi-tracker; Plasma Rifle; Targeting Array)
      1 Crisis Bodyguard (Fusion Blaster; Hard-wired Drone Controller; Plasma Rifle; Targeting Array)
         2 Shield Drone (Shield Generator)

HQ: Commander R’alai (IA) (3#, 190 pts)
   1 Commander R’alai (IA), 190 pts (XV-9 Armour; Warlord)
      2 2x Marker Drones

HQ: Commander Shas’o (3#, 182 pts)
   1 Commander Shas’o, 182 pts (Cyclic Ion Blaster; Failsafe Detonator; Hard-wired Drone Controller; Iridium Armour; Stimulant Injector; Missile Pod; Multi-Tracker)
      2 Shield Drone (Shield Generator)

HQ: Ethereal (14#, 274 pts)
   1 Ethereal, 274 pts (Hard-wired Drone Controller; Honour Blade)
      11 Fire Warrior Honor Guard (EMP Grenade; Photon Grenade)
         1 Fire Warrior Honor Guard
      1 Shield Drone (Shield Generator)

Elite: Crisis Shas’vre (5#, 239 pts)
   1 Crisis Shas’vre, 239 pts (Hard-wired Blacksun Filter; Hard-wired Drone Controller; Hard-wired Multi-tracker; Missile Pod; Plasma Rifle; Targeting Array; Team Leader; Shas’vre Upgrade)
      2 Shield Drone (Shield Generator)
      2 Crisis Battlesuit (Missile Pod; Plasma Rifle; Multi-Tracker)

Elite: Crisis Shas’vre (5#, 207 pts)
   1 Crisis Shas’vre, 207 pts (Hard-wired Blacksun Filter; Hard-wired Drone Controller; Hard-wired Multi-tracker; Twin Linked Missile Pod; Targeting Array; Team Leader; Shas’vre Upgrade)
      2 Shield Drone (Shield Generator)
      2 Crisis Battlesuit (Twin Linked Missile Pod; Targeting Array)

Elite: Stealthsuits (6#, 248 pts)
   5 Stealthsuits, 248 pts (Targeting Array)
      1 Team Leader (Targeting Array; Hard-wired Blacksun Filter)

Elite: Stealthsuits (5#, 185 pts)
   1 Stealthsuits, 185 pts (Targeting Array)
      1 Stealthsuits (Targeting Array)
      1 Team Leader (Targeting Array; Hard-wired Drone Controller)
         2 Marker Drone (Networked Markerlight; Targeting Array)

Troops: Fire Warrior (10#, 301 pts)
   8 Fire Warrior, 301 pts (EMP Grenade; Photon Grenade)
      1 Shas’ui (Hard-wired Blacksun Filter)
      1 Devilfish (Blacksun Filter; Disruption Pod; Flechette Discharger; Multi-Tracker; Seeker Missile x2; Sensor Spines; Targeting Array; Smart Missile System)

Troops: Fire Warrior (9#, 136 pts)
   8 Fire Warrior, 136 pts (EMP Grenade; Photon Grenade)
      1 Shas’ui (Hard-wired Blacksun Filter)

Troops: Kroot Carnivore Squad (20#, 174 pts)
   13 Kroot Carnivore Squad, 174 pts
      1 Kroot Shaper (Squad 6+ Armour Save)
      6 Kroot Hounds

Troops: Kroot Carnivore Squad (20#, 174 pts)
   13 Kroot Carnivore Squad, 174 pts
      1 Kroot Shaper (Squad 6+ Armour Save)
      6 Kroot Hounds

: Remote Sensor Tower Team (IA) (1#, 40 pts)
   1 Remote Sensor Tower Team (IA), 40 pts (Immobile)

Legendary: Barracuda Air Superiority Fighter (IA) (1#, 170 pts)
   1 Barracuda Air Superiority Fighter (IA), 170 pts (Seeker Missile x4; Agile)

Fast Attack: Pathfinder (9#, 333 pts)
   7 Pathfinder, 333 pts (EMP Grenade; Photon Grenade; Rail Rifle and Target Lock x3)
      1 Shas’ui (EMP Grenade; Photon Grenade)
      1 Devilfish (Blacksun Filter; Disruption Pod; Flechette Discharger; Multi-Tracker; Seeker Missile x2; Sensor Spines; Targeting Array; Smart Missile System)

Fast Attack: Piranha Light Skimmer (3#, 100 pts)
   1 Piranha Light Skimmer, 100 pts (Disruption Pod; Flechette Discharger; Sensor Spines; Fusion Blaster x1; Blacksun Filter x1; Targeting Array x1)
      2 Gun Drones

Fast Attack: Piranha Light Skimmer (3#, 100 pts)
   1 Piranha Light Skimmer, 100 pts (Disruption Pod; Flechette Discharger; Sensor Spines; Fusion Blaster x1; Blacksun Filter x1; Targeting Array x1)
      2 Gun Drones

Fast Attack: Vespid Stingwing (10#, 166 pts)
   9 Vespid Stingwing, 166 pts
      1 Strain Leader

Fast Attack: Tetra Scout Speeder Team (IA) (1#, 70 pts)
   1 Tetra Scout Speeder Team (IA), 70 pts (Blacksun Filter x1; Sensor Spines x1; Targeting Array x1; Forward Observer; Marker Beacon)

Fast Attack: Tetra Scout Speeder Team (IA) (1#, 70 pts)
   1 Tetra Scout Speeder Team (IA), 70 pts (Blacksun Filter x1; Sensor Spines x1; Targeting Array x1; Forward Observer; Marker Beacon)

Heavy Support: Broadside Shas’vre (2#, 113 pts)
   1 Broadside Shas’vre, 113 pts (Hard-wired Blacksun Filter; Hard-wired Drone Controller; Hard-wired Multi-tracker; Targeting Array; Team Leader; Shas’vre)
      1 Shield Drone (Shield Generator)

Heavy Support: Broadside Shas’vre (2#, 123 pts)
   1 Broadside Shas’vre, 123 pts (Hard-wired Blacksun Filter; Hard-wired Drone Controller; Hard-wired Multi-tracker; Twin Linked Plasma Rifle; Targeting Array; Team Leader; Shas’vre)
      1 Shield Drone (Shield Generator)

Heavy Support: Broadside Battlesuit (2#, 108 pts)
   1 Broadside Battlesuit, 108 pts (Hard-wired Blacksun Filter; Hard-wired Drone Controller; Hard-wired Multi-tracker; Targeting Array; Team Leader)
      1 Shield Drone (Shield Generator)

Heavy Support: Broadside Shas’vre (2#, 113 pts)
   1 Broadside Shas’vre, 113 pts (Hard-wired Blacksun Filter; Hard-wired Drone Controller; Hard-wired Multi-tracker; Targeting Array; Team Leader; Shas’vre)
      1 Shield Drone (Shield Generator)

Heavy Support: Sniper Drone Team (4#, 80 pts)
   1 Sniper Drone Team, 80 pts
      3 Sniper Drones

: Aegis Defence Lines (2#, 100 pts)
   1 Aegis Defence Lines, 100 pts
      1 Gun Emplacement (Quad-gun)

: Tiger Shark AX-1-0 (IA) (1#, 750 pts)
   1 Tiger Shark AX-1-0 (IA), 750 pts (Networked Markerlight; Blacksun Filter; Disruption Pod; 2 x Burst Cannons; Twin Linked Heavy Railguns; Twin Linked Missile Pod; 6 x Seeker Missiles)

Formation: Armoured Interdiction Cadre (4#, 630 pts)
   1 Armoured Interdiction Cadre, 630 pts
      1 Hammerhead Gunship (Railgun; Two Burst Cannons; Blacksun Filter; Disruption Pod; Flechette Discharger; Multi-Tracker; Sensor Spines)
      1 Hammerhead Gunship (Railgun; Two Burst Cannons; Blacksun Filter; Disruption Pod; Flechette Discharger; Multi-Tracker; Sensor Spines)
      1 Hammerhead Gunship (Railgun; Smart Missile System; Blacksun Filter; Disruption Pod; Flechette Discharger; Multi-Tracker; Sensor Spines)

: Drone Sentry Turret Team (IA) (1#, 65 pts)
   1 Drone Sentry Turret Team (IA), 65 pts (Disruption Pod; Shield Generator; Twin Linked Plasma Rifle x1; Marker Beacon)

Validation Report:
b-3. Apocalypse Allies: Trusted Allies only; d-1. Formatting: Competition Output; c-1. File Version: 1.11 For Bug Reports/www.ab40k.org; b-1. Roster Options: Apocalypse, Imperial Armour, Named or Special Characters; a-1. Scenario: Normal Mission; 1. Enclaves: Tau Empire; b-2. Levels of Alliance: Allies of Convenience
Roster satisfies all enforced validation rules

Composition Report:
Formation: 1 (0 – 0)
Other Units: 27 (- – 0)
Legendary Units: 1 (- – 0)
Fort: 1 (0 – 1)

Total Roster Cost: 5800

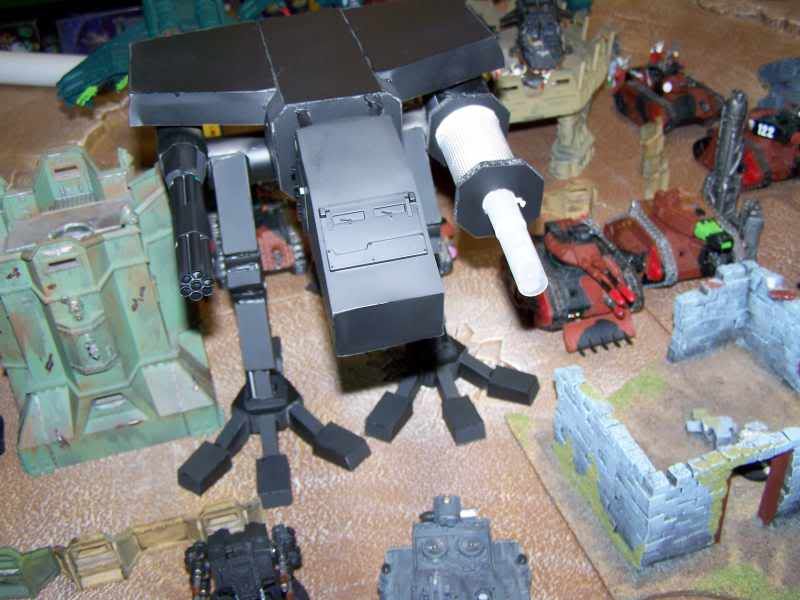
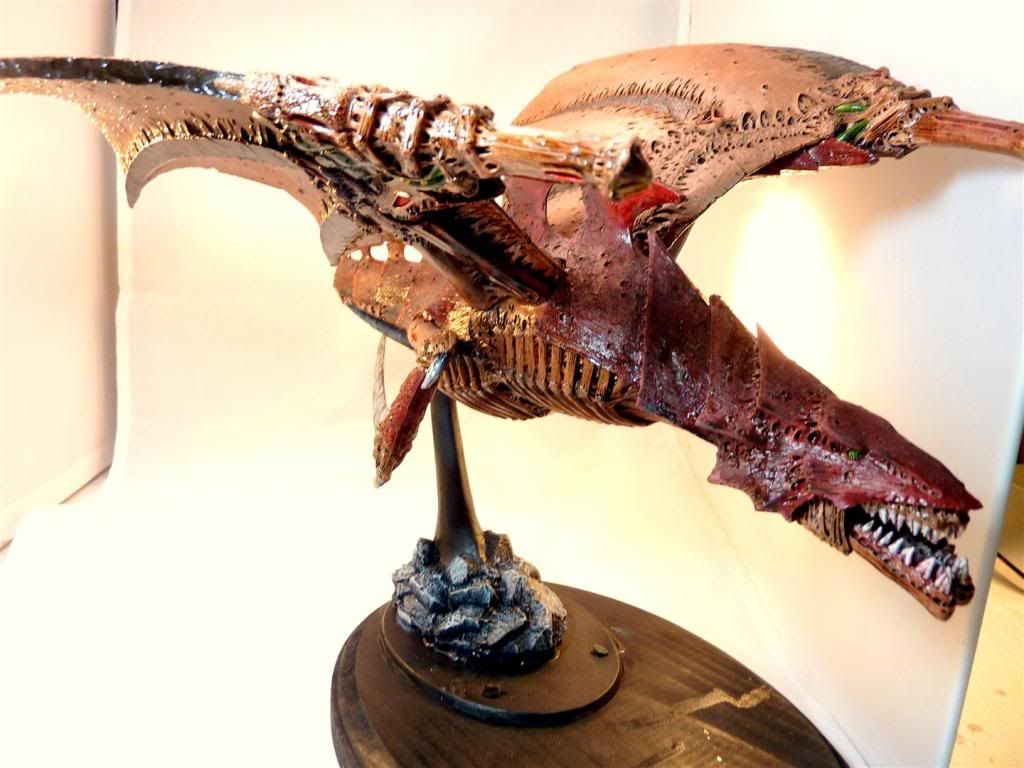
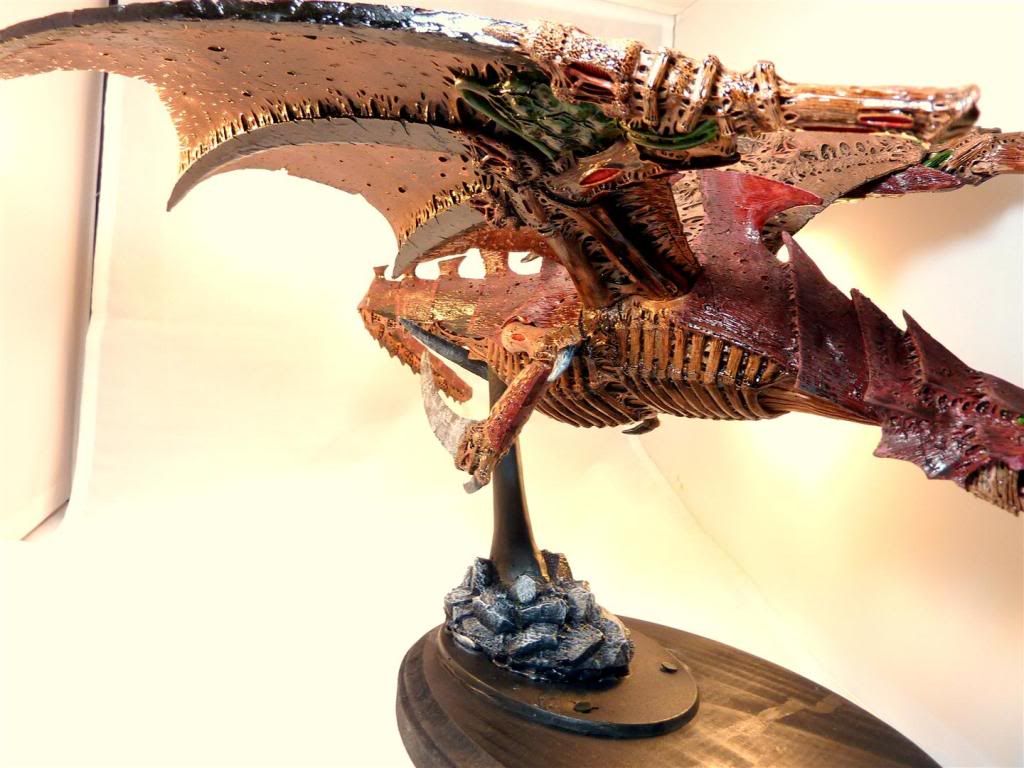
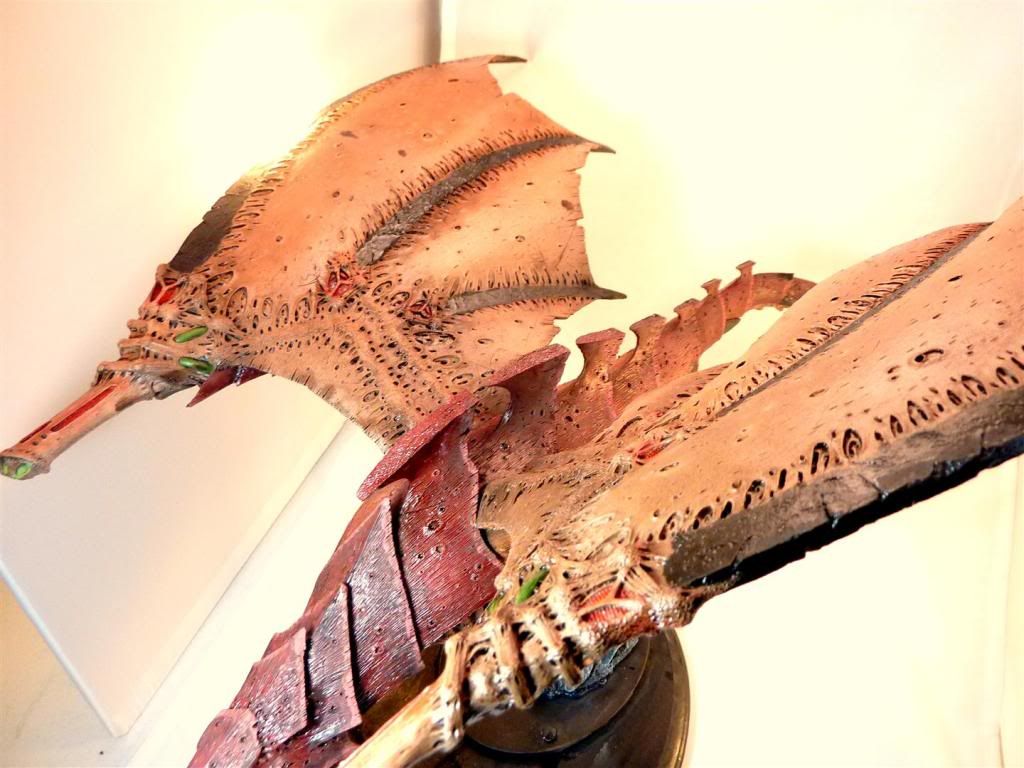
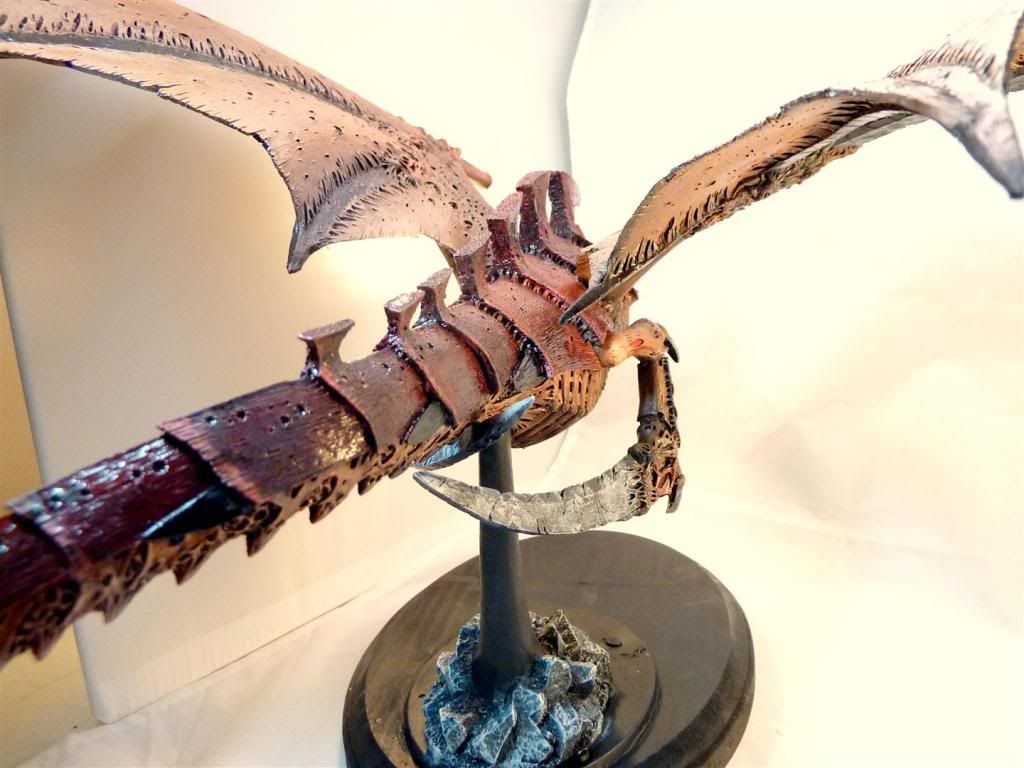
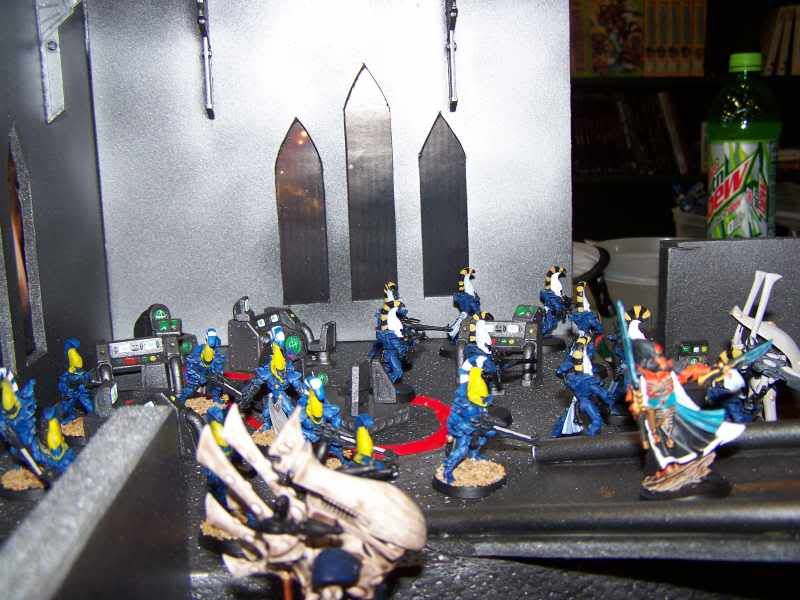
My Tigershark’s hasn’t had too many big moments, but he did help drop Michael’s Warlord Titan in the last Big Game.

Which commander to choose for my Warlord…. R’Alai, Shas’o Edem (my own fluffy commander), or converted Commander Farsight…
Check back next week for highlights from the Big Game III this weekend!

The Big Game III: The World’s Largest Apocalypse Game – March 16th at Gamers Sanctuary

For the third year in a row Apocalypse40k.com is organizing a world-wide game day to play Apocalypse. The initiative is basically to have as many people playing 40k as possible in huge Apocalypse games. We ran a game last year and will be running one this year at Gamers Sanctuary on March 16th.


For this year we’ll be using the regular Apocalypse rules with a few guidelines (house rules) that will make the game more fun. I’ve found that these rules balance it a little bit at least and make it as much fun as possible. We’ll be doing Order vs Destruction, trying to balance the teams as best as possible. Everything must be painted!

Last year I believe we had eight players. I hope to double that this year and play on two huge tables. The scenario will be a return to Reth where we fought our campaign. The forces of destruction are leading a frontal assault on a  fortified base area that the imperials are holding. That will be one table.

The forces of Order have sent a strike force to a jungle area on Reth to take out the staging areas that Destruction is using to bring their forces to the ground. That will be the other table. We’ll have plenty of sweet terrain to make both tables look great.

If you’re interested in playing you can sign up here. Please send an email to mugginns@gmail.com with your roster so I can balance the sides.

Stay tuned for more details!

BABY-POCALYPSE 2012!

We’re primarchs now.

The Baby-Pocalypse Battle Report is up on the You Tube channel.

Don’t forget to subscribe to stay updated. With summer coming, I hope to have a new batrep up each week. Next week’s will feature some Warma/Hordes action in the GS Escalation League!

Click on the YouTube icon to embiggen. Put it in 720p!

Mantis Warrior Strike Force Charlesso
Total Roster Cost: 3995

HQ: Space Marine Chaplain in Power Armour (1#, 115 pts)
HQ: Space Marine Librarian in Power Armour (1#, 100 pts)

Formation: Land Raider ‘Iron Exemplar’ Command Spearhead (23#, 1790 pts)
   1 Land Raider ‘Iron Exemplar’ Command Spearhead, 100 pts
      1 Command Squad,
         1 Apothecary
          4 Veteran
      1 Land Raider, 265 pts
      1 Space Marine Captain in Terminator Armour, 180 pts
      7 Terminator Assault Squad, 280 pts
         1 Sergeant
      5 Terminator Assault Squad, 200 pts
         1 Sergeant
      1 Land Raider Crusader, 265 pts
      1 Land Raider, 265 pts

Heavy Support: Stormraven Gunship (1#, 200 pts)
Elite: Terminator Assault Squad (6#, 240 pts)
Elite: Contemptor Pattern Dreadnought (IA) (1#, 240 pts)

Elite: Contemptor Pattern Dreadnought (IA) (1#, 200 pts)
Elite: Ironclad Dreadnought (2#, 185 pts)
      1 Drop Pod, 35 pts

Troops: Scout Squad (5#, 100 pts)
Fast Attack: Land Speeder Squadron (1#, 100 pts)

Heavy Support: Predator (1#, 85 pts)
Heavy Support: Whirlwind (1#, 95 pts)
Elite: Techmarine (1#, 75 pts)

Mantis Warriors Iron Exemplar Command Spearhead

Over the weekend we celebrated the impending arrival of my son with a baby shower. No, I didn’t attend. I was in the basement with Geneguard, Cerberus, and Tau4Eva playing an 8,000 point per side fully-painted Apocalypse game. Cerberus shot a battle report that will be posted soon.

I had 20 terminators painted already for my Mantis Warriors, plus plenty of predators and land speeders, so it was time for some Land Raiders to carry my terminators. I figured out that if I had three land raiders I could carry all of my terminators, so I picked up another before the price hike.

The 8×4 battlefield – jungle terrain!

Originally I had intended to just toss my chapter master in with 7 terminators in the Crusader, then 6 in each regular land raider. Then I found the Iron Examplar formation in IA 9 that puts a Captain and his command squad in one land raider, then two to four more land raiders in the formation. They had to contain an elite choice basically. While in formation, any units within 6″ of the command raider were stubborn (this was HUGE late game!). Each Land Raider also was able to totally ignore its first penetrating hit.

So I loaded the captain up with terminator armor, lightning claw, and storm shield, and then brought along his command squad (I haven’t painted one yet, so I used my stand in sternguard).

The other two land raiders held their terminators. I deployed them centrally in my line to advance across the field as quickly as possible and take the enemy held objective. (Unfortunately in turn one one of my terminator land raiders immobilized itself!)

It took me about two weeks to paint these land raiders. I used Army Painter Green to base coat and prime in one shot, then painted on the details, then weathered and decaled. These land raiders have seen A LOT of use, so they’re muddy, shot up, and scorched.

The Mantis Warriors are currently on a penitent crusade to restore their standing in the Imperium, so any vehicles they have are going to be extremely dirty and shot up. This really hits home with my ‘Armies on Campaign’ theme I’m going for with my MW army.

I’ll try not to steal the thunder from Cerberus’ bat rep, but the command raider made it all the way to the back of the eldar lines; one terminator raider made it to the objective and stayed for a while before being blown up by bright lances (but delivered its payload of terminators); one land raider immobilized itself in our lines early on then moved up to hold our objective.

All in all a great time… I can’t wait to see the new bat rep!

The Big Game – Mantis Warriors Stormraven and Master of the Forge


I had wanted to finish a few more models for The Big Game, so I chose last week to do a Stormraven and my Master of the Forge. I spent this whole week painting these models, which I wasn’t expecting.

They were both relatively simple models, and I’m pretty pleased how they came out. The stormraven takes a long time to highlight, and I tried to write something on the cockpit sides that didn’t turn out. Those sides will instead have a Maelstrom Warders logo put over them. I have to dullcote over the decals on both models as well.

For Apocalypse, the Master of the Forge will have a servitor retinue and I’ll be using the Blood Angel rules for the Stormraven. I reckon at some point regular ole’ space marines will be able to use the stormraven as well.

Tons of highlighting on this one! I painted the stripes using painting masking tape.
Each side of the cockpit will receive a maelstrom warders logo.
Thruster scorch detail method thanks @geneguard. I love how that turned out. Mantis Warrior symbol looks really cool too
I love this model – looks so cool. I wanted to go with more of a ‘bleached’ old dude space marine look on this guy. I wasn’t going to attempt the white / black logos, I’m just not that great, so I painted most of the Mars logos mechrite red.

Dude loves grabbin’ things.
Mantis Warrior logo on his shoulderpad. Microset has worked really well on this stuff. I varnished him this morning, then he’ll be dullcoted and based tonight.

Devouring of Reth Campaign – Apocalypse Finale

Sunday we finished out the Reth campaign with a final Apocalypse battle where the Imperial forces were laying siege to the city of Caul. Despite having three gargantuan creatures and a stompa, the Xenos forces couldn’t weather the hail of fire and were decimated.

It was a pretty fun game. Apocalypse games have been bittersweet for me of late since I have bought the huge Tyranid creatures; my games mostly consist of me watching my space dinosaurs die in turn 1 to concentrated fire. Someday they’ll get updated… someday *single tear*.

I did manage to kill Dante and a bunch of tanks, but not enough. A “Deathstorm” formation somehow landed 4d6 rending hits on two gargantuan creatures in one turn, killing both. Fool me once!

We had a great battle on my side of the table with my tyranids, Phil from Ruinous Powers had his Chaos move in on my side (he killed Captain Jeremiah!), and we had Eldar on that side as well with some Phoenix Lord formation.

That leads me to my first organizational note – with large public Apocalypse games like this it is tough to organize, but I would recommend limiting everyone to one formation to have a fun game. I specifically included all IA stuff so people could bring all their units, but I think in the future with something like this you have to have an “umpire” or gamemaster to help out.

Really though I’m blowing that out of proportion. It was only about 20 minutes of headache and then we had a great 6 hour game. The Blood Angel / Tyranid / Chaos fight was a bloodbath. The Candidus Callipus Space Hulk board was amazing, Jeremy and Adam and Brian did a great job with their boards.

Some photos, thanks to Josh of Drop Pod Assault:


Candidus Callipus Update – My Board Section

I posted Adam’s section a while back so I figured I’d post a WIP shot of my section. The whole board is basically painted, now I have to add accessories. You can see I’ve put in some barrels, crates, rooms, and engine blocks from Naloomi’s Workshop.

I plan on adding in pipes, hazard stripes, posters, and plants (a garden room) to finish it off in time for the Apocalypse game on Sunday.

Hive Fleet Muggis – The Harridan Under the Stairs

Geneguard (Bill) and I spent the afternoon watching / listening to The People Under the Stairs and painting / building / dremeling. I had to finish painting my Harridan and put together some Finecast™ models (holy crap the Broodlord is great now that I can pose him!) and then paint some terrain for our Candidus Callipus space hulk board.

The Harridan has been pretty easy to paint – the details are huge and I dip my tyranids so it works out well. He is really huge – I wish this thing were plastic, it’d be so much easier to play with and transport. I still have to base it up and dullcote, but here are some photos!


I also picked up some Capillary Towers on Ebay. These are pre-painted pics: